Grow microgreens inside for fresh winter produce
Published 11:49 am Monday, January 24, 2022
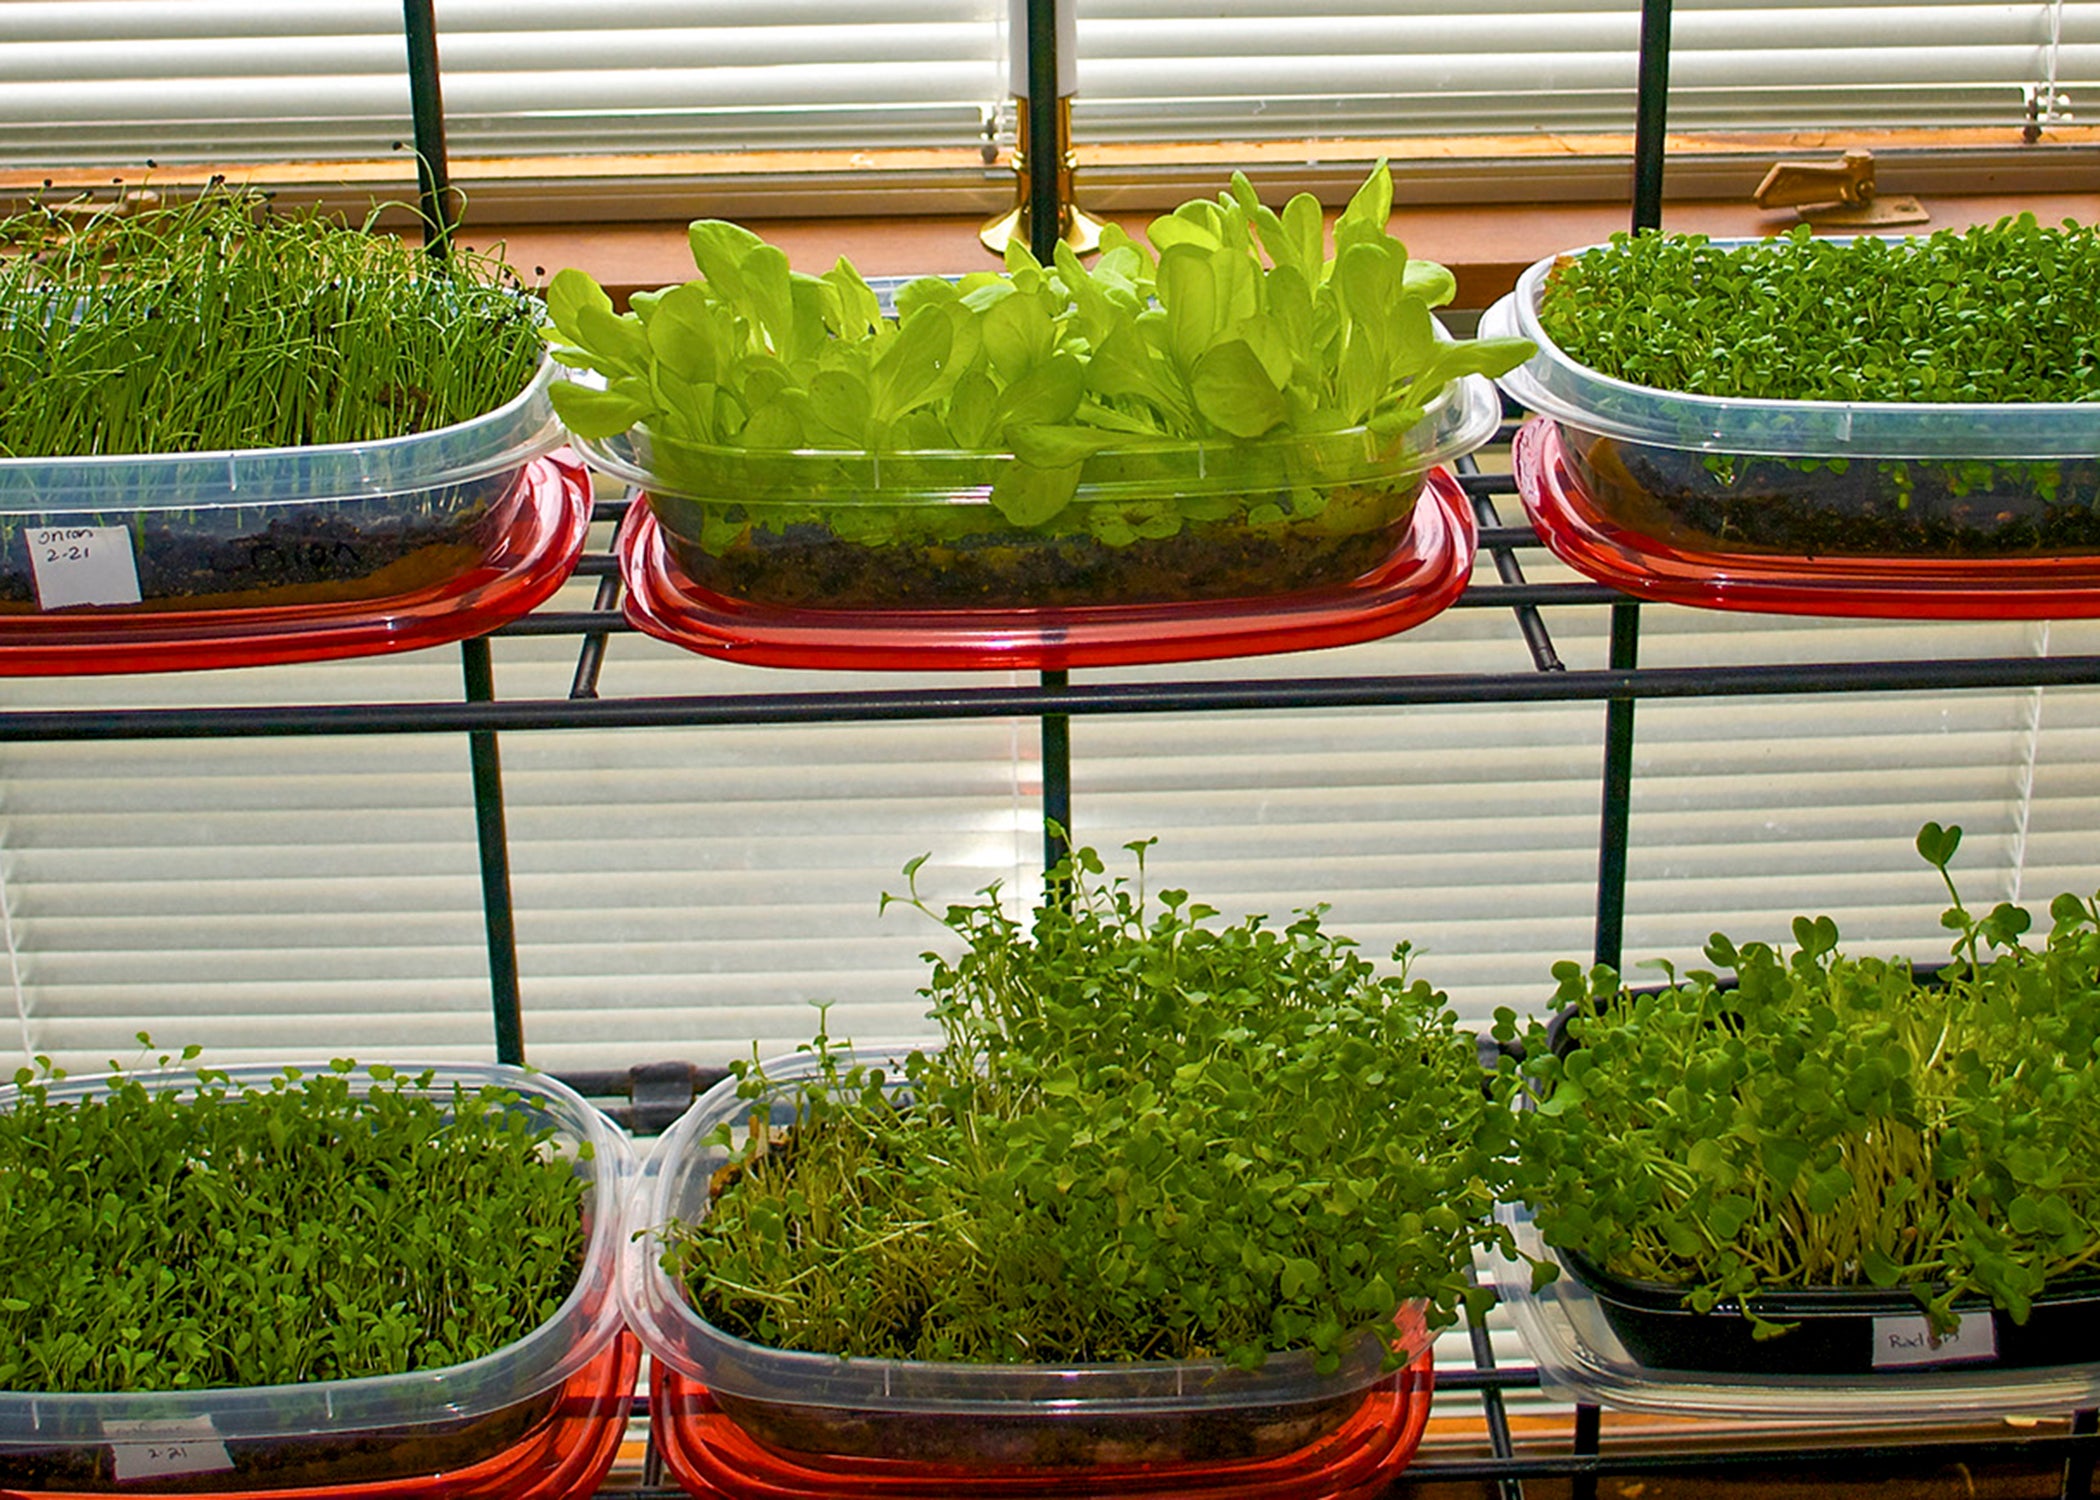
- GROWING -- Microgreens are easy to grow in recycled plastic storage containers in front of a bright window. (Submitted photo/Cindy Graf) Alt text -- Microgreens grown in flat plastic containers on shelves in front of a window.
By Gary R. Bachman
MSU Extension Service
If you’re the kind of gardener who has something fresh from the backyard on the table almost every day of summer, January meals can seem a little dreary.
One way to keep fresh home produce on your plate all winter long is by growing microgreens. It does not take a lot of effort or space, and the colorful and tasty results can have a big impact at mealtime.
Microgreens are immature, densely grown seedlings of selected vegetables and herbs. I’ve been growing them for over 10 years, and my favorites include leafy microgreens like kale, arugula and baby lettuce.
You harvest microgreens in 7 to 21 days from germination when the tiny plants have reached 1 to 3 inches tall. Depending on the species grown, the harvested microgreens consist of a stem, cotyledon and developing true leaves.
Let me clear up some confusion between microgreens and sprouts. Sprouts are seeds that are geminated in a high-humidity system, and the entire plant — leaves, stems and roots — are harvested and consumed. Microgreens are seeds grown as normal plants, and only the stems and leaves are harvested for consumption.
Microgreens are rich in phytonutrients and have a variety of uses. They are vegetable confetti that add flavor, texture and color to meals. Add them to salads or make up an entire salad with just microgreens, jazz up a sandwich by adding them in place of lettuce, or use them as a colorful garnish.
These tiny plants are easy to grow in a variety of containers. I use sturdy plastic trays filled with a good, peat-based container mix. Repurposed take-out containers or reused product trays from the grocery store are great, if they can hold a cup or two of growing mix.
Plant your microgreens by densely sprinkling the seeds on the surface of the container mix. The number of seeds used varies by variety.
Gently press the seeds down and then water them into the soil. Cover with a clear dome or a paper towel to retain humidity until the seeds germinate. Remove the cover after a few days.
The seeds need light to germinate. I put mine on a germination rack in the front window. If your window doesn’t offer abundant light, supplement with LED light. You also can grow them outdoors on the porch when temperatures rise.
Seeds begin to germinate in a couple of days, and some are ready to harvest in as little as one week. Harvest with a sharp pair of scissors. This is usually a one-cut process, and the greens can be stored in a plastic bag or container in the refrigerator.
As with any fresh vegetable, always gently wash before consumption.
There are well over 50 different varieties of microgreens available, and they can be grouped by their rate of growth. Pea shoots and radishes harvest in 7-10 days, while mustard, kale, arugula and cabbage take 10-15 days. Beets, carrots, Swiss chard and cilantro are among the varieties ready for harvest in 16-25 days.
Make sure you get good quality, fresh seed to ensure even germination and success. Seeds for microgreen use are readily available in bulk, which is important because it is impractical to buy the amount of seed needed in seed packets.
Your local garden center or online sources will provide the materials and bulk seeds you need to get started.
Sow seeds weekly to ensure a steady supply of beautiful and tasty microgreens to keep the garden on the table all winter long.